


Learn how to make yogurt easily at home. You don’t need any special equipment to make homemade yogurt. No cultures, no yogurt maker, not even a thermometer. Homemade yogurt is easy to make, and tastes very good, even better than store bought.
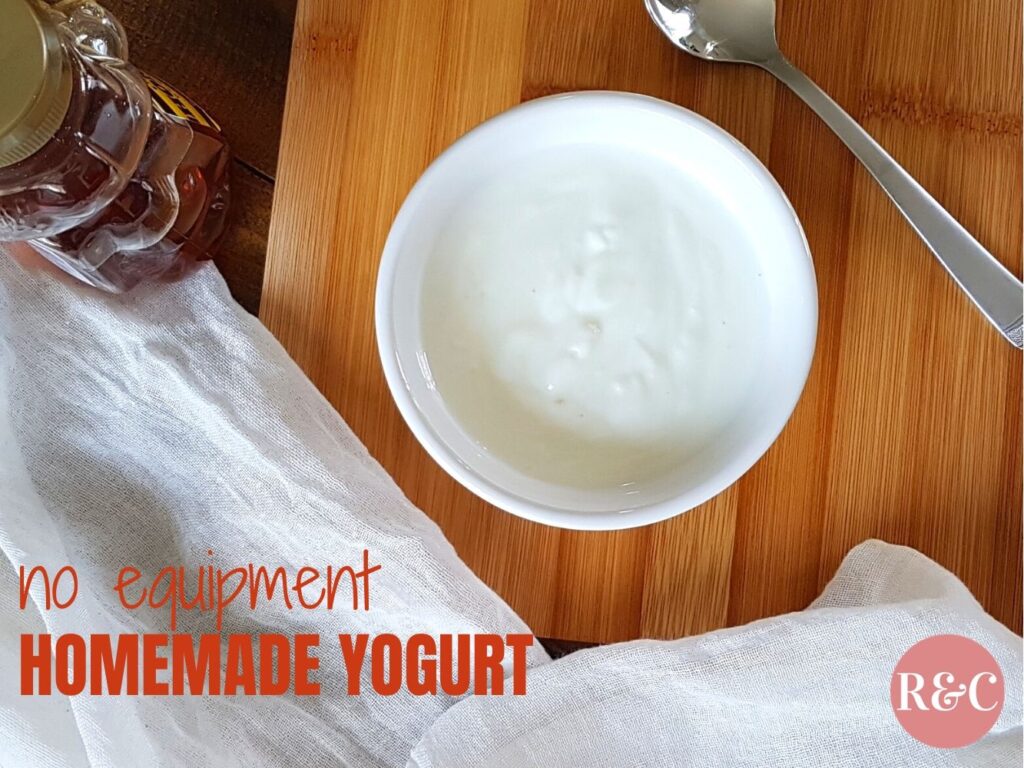
Learn How to Make Homemade Yogurt without Special Equipment
Making yogurt at home is very easy, and only requires two ingredients.
I started making it at home because I needed a lot of it to make Labaneh. I also wanted it to be richer than the ones I can get from the store.
I didn’t want to invest in any special equipment. The whole point was to be able to make yogurt at home, and then Labaneh on a budget. So I wasn’t gonna buy anything just for this purpose.
A lot of the how-to guides that I found online seemed very fussy. Checking temperatures when cooking, culturing and incubating. Honestly, they made it seem like a tightly controlled lab experiment.
I work in labs, and have worked with bacteria for quite some time. We controlled all the conditions in any experiment because we needed very specific concentrations, and we needed very accurate calculations and numbers.
But this is homemade food, not the lab. So I wasn’t going to take out my lab coat, gloves and microscope for this. Homemade cooking doesn’t have to be perfect, and that’s the beauty of it.
So I decided to make homemade yogurt without any special equipment, and just use my judgement to make it and see what happens. After all, that’s the way my grandmother did everything in the kitchen.
Making yogurt turned out to be quite simple, and I have been making it at home whenever I needed a large amount for things like Labaneh or Mansaf.
So Today I will share with you how to make yogurt at home easily without any special equipment.
What is yogurt? Why is it good for you?
Yogurt is milk that is fermented by bacteria, commonly known as probiotics. The bacteria utilize the lactose, the sugar in the milk, and turn it into lactic acid. The lactic acid does amazing things. It denatures the proteins which gives the yogurt its thickness. It also gives it its tart taste. And since most ‘other’ bacteria cannot live in acidic conditions, it also acts as a preservative.
The resulting product contains live bacterial cultures, which do not cause disease, but are rather good for your gut. If you look at the label of store bought yogurts, they sometimes list the bacterial cultures that are present in their product. For example, Lactobacillus acidophilus, and Bifidobacterium bifidum. These are the bacterial species that are in the yogurt, and different species can yield different results in terms of taste and tartness.
Consuming probiotics is believed to help us to have a healthy gut microbiome, and can help in conditions such as diarrhea, irritable bowel syndrome, and inflammatory bowel disease.
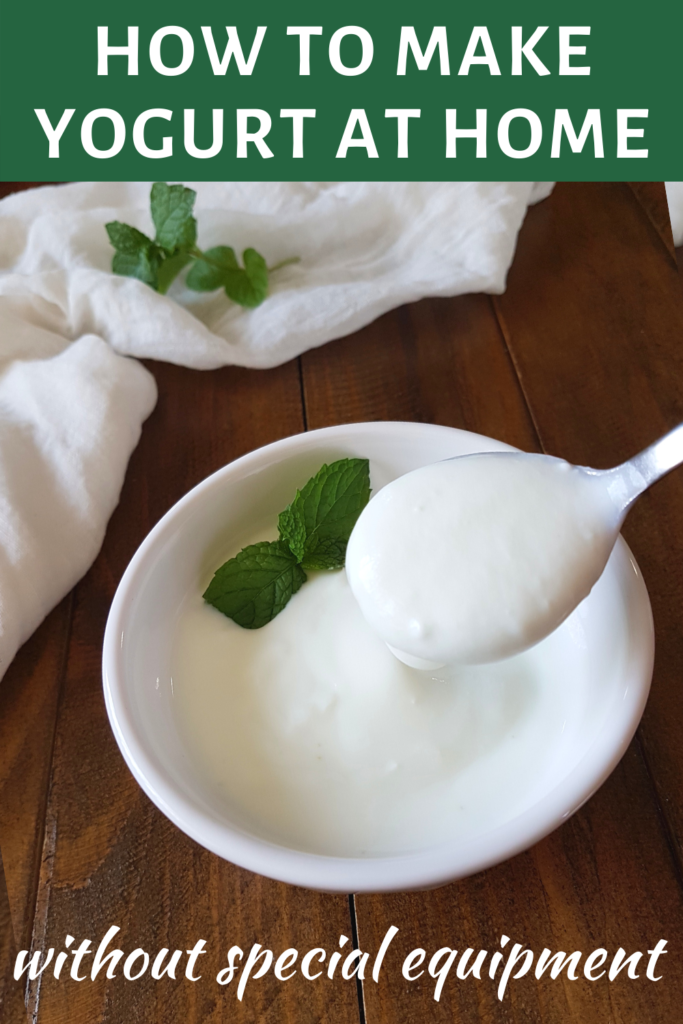
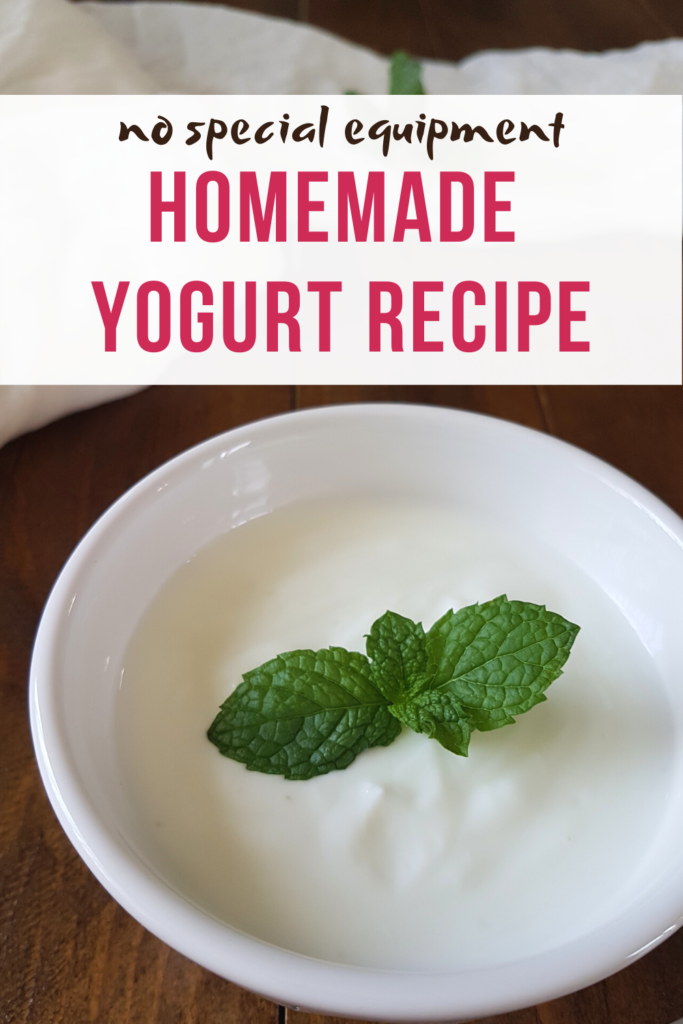
How to Make Yogurt at Home
This homemade yogurt recipe only requires two simple ingredients, and no special equipment. Make this healthy probiotic food at home to enjoy a healthy snack, and you could save yourself some money too.
The not-so-special equipment you need
As I have mentioned, you don’t need any special equipment to make yogurt at home. You could get a thermometer, and a yogurt maker if you want. But I think it’s completely unnecessary in my opinion, since you can get great results without any of that.
What you actually need you probably already have in your kitchen:
- A Large pot
- A spoon or whisk for stirring
- A spoon for measuring, it doesn’t even have to be an actual measuring spoon.
Seriously that’s it.
Ingredients
You only need two simple ingredients:
- Milk
- Yogurt
Optional ingredient: heavy cream.
You can choose any milk that you like. I use 2% milk, and add some cream to it to increase the richness and fat content. You can use whole milk, or low fat milk. Whatever you like. Each will give a slightly different result.
The yogurt needs to have live cultures. Don’t get the pasteurized kind where that bacteria has been killed. I use the traditional whole milk plain yogurt, not Greek. Try to use a plain yogurt that doesn’t have sugar, flavors, or coloring added to it.
Directions
The directions are very easy. It takes time to be ready, but the hands on time is actually short.
Step 1: Heat the Milk:
Pour the milk into a big pot. You can add cream to it for richness. Add 3/4 cup or 170 ml per quart or liter of milk, and stir to mix them together.
Heat the milk while constantly stirring, to prevent it from burning and sticking to the bottom of the pot. You need to heat it until just before boiling, but it’s okay if it boils. Then turn off the heat and let it cool.
Heating the milk kills any bacteria to provide a clean sheet for the probiotics to be cultured without competition.
Step 2: Cool the Milk to a Suitable Temperature:
The milk needs to be cool enough not to kill the bacteria, but also warm enough to actively divide. The way we check that the milk has reached a suitable temperature is as follows.
Insert your impeccably clean finger (this is your makeshift thermometer) into the milk, and count to ten. You will be able to count to ten without scorching your finger when the milk reaches the desired temperature. You don’t want to introduce bacteria to the milk, so make sure that your finger is clean.
Step 3: Add Yogurt and Incubate:
When the milk has cooled down to the desired temperature, it’s time to culture using ready made yogurt (either from the store, or a previous batch).
You need about two tablespoons of yogurt per quart or liter of milk. Place the yogurt you want to add to the milk in a small bowl, and add some of the heated milk to it and mix them together. This brings the temperature of the yogurt close to the temperature of the milk.
Then add the yogurt mixture into the milk pot and stir. Cover the pot with a lid, and wrap a towel or cloth around it to help keep it warm. Put it in your turned-off oven and leave it to work its magic undisturbed for 5-10 hours.
To provide a warm incubating temperature, I turn on the oven for two minutes then turn it off before placing the pot with the milk inside. I place a cloth or a kitchen towel on the rack, and then put the pot on top of it, and cover it with a clean towel. I also keep the oven light on to help keep it warm.
Step 4: Refrigerate:
After 5 to 10 hours, the yogurt will be ready. You can eat it now if you like. Or you can refrigerate it overnight to set it further, and to preserve it.
Different Results when Making Homemade Yogurt
Your choice of ingredients, and variations in the method will lead to variation in the taste and consistency of the resulting yogurt.
More dissolved solids will lead to thicker consistency. That’s why I add cream to thicken the yogurt. Check out this article by the kitchn on ways to achieve thicker yogurt.
Different brands of yogurt have different bacterial strains. That will result in different tastes according to what you use as starter.
How to Serve
There are countless recipes, and so many ways to serve it. You can flavor it and serve it as a snack, or with breakfast; or you can use it in a recipe that uses yogurt.
To flavor and serve: Add some fruits for a yummy snack. Berries go great with yogurt; add strawberries, raspberries, or blueberries, and sweeten with some honey. Here are some more ideas on how to flavor your yogurt by Richa from My Food Story.
Make Labaneh: I use it to make homemade Labaneh all the time. Labaneh is a salted strained yogurt product that is an alternative to cream cheese. It’s very popular in the Levant, and we use it as a dip with pita bread, or as a sandwich spread. Just add about a teaspoon of salt per quart or liter of yogurt, and strain in a cheesecloth overnight, or longer for firm Labaneh. So easy and so good.
Serve with rice and chicken dishes: We like to serve plain yogurt with spiced Arabic dishes. Try this spiced chicken and rice Kabsa, and serve it with some homemade yogurt on the side.
Use it in recipes: there are many recipes that call for yogurt. Try my Authentic Baba Ganoush where yogurt is used to lighten up the dip.

Homemade Yogurt Recipe
Ingredients
- 1 quart milk, or 1 liter
- ¾ cup heavy cream (optional)
- 2 tbsp plain whole milk yogurt
Instructions
Heat the milk
- Pour the milk in a pot, and heat it to just before boiling, or you can boil it.
- Turn off the heat and allow the milk to cool down until you can insert your finger and count to ten without scorching it.
Culture and Incubate
- In a small bowl, add the ready made yogurt, and add about half a cup of the heated and cooled milk to it and mix well.
- Add the yogurt mixture to the milk pot, and stir well. Put it in a turned-off oven and cover it with a cloth to keep it warm. Turn the oven lamp on, and leave it to incubate for 5-10 hours undisturbed.
Refrigerate and Serve
- Refrigerate it to stop the culturing, set the yogurt and preserve it
- Serve plain, with fruits and honey, or use for your recipe.
Notes
- If you decide to add cream, keep in mind that the calories per serving at least doubles.
- Each serving is 1/2 cup.
Thank you for sharing. This seems simple enough to make.